Navigation
- Introduction
- Bill Of Materials (BOM)
- 3D printing
- Finishing 3D prints
- Electronics
- Software
- Assembly
- Accessories
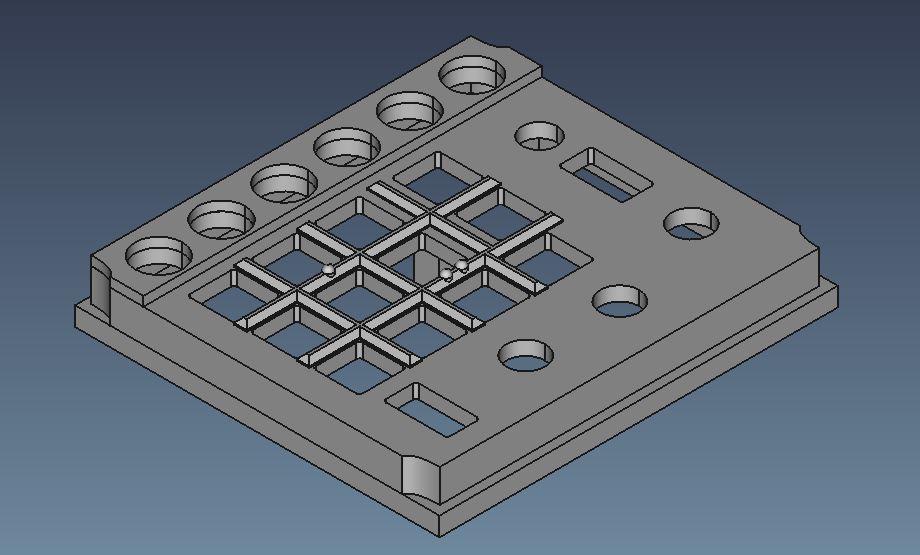
3D Printing
The main body consists of four parts. This is done in order to optimize printing orientation, support usage and print quality. All of the parts can be printed using a normal FDM 3D printer.
The parts are aligned using a small segment of 1.75 mm filament and glued together using superglue or something similar. The insides of the button holes might need to be sanded in order to align the edges and ensure smooth operation.
It is also possible to print the whole body in one part. It will just require some support and the surfaces might require more sanding depending on your print quality.
To prevent keywobble, the tolerances for the keys are a bit tight. If they are too tight or too big with your printer, please scale the keycaps or edit the original CAD.
All STL’s and original FreeCAD models can be found in XXX.
There is also a set with the text engraved in the keycaps. These are WIP. It is easiest to print them on their sides so the text is aligned with the Z-axis. I have not yet gotten them to a quality I am happy with using this way. I used a laser engraver because it’s make this a lot easier :).
Please note: For some parts, screws will be threaded in the plastic. Some builders experienced that using resin printed parts are too soft for this. Please modify/test as needed.
Part 1: Main Body
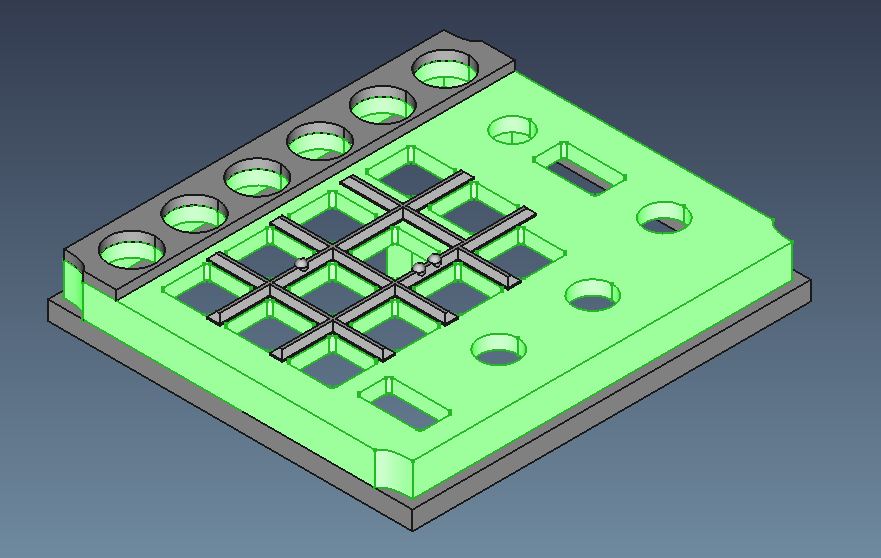
Orientation: Top down
Layer-height: Normal (~0.2 mm)
Supports: None
Note: If you want to laser engrave the text, use white filament.
Part 2: Flange
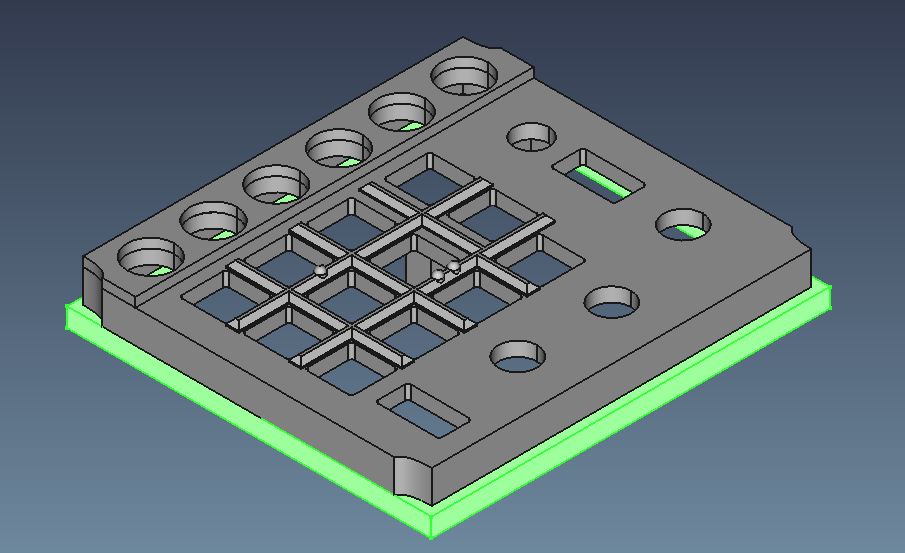
Orientation: Top down
Layer-height: Normal (~0.2 mm)
Supports: None
Part 3: Top
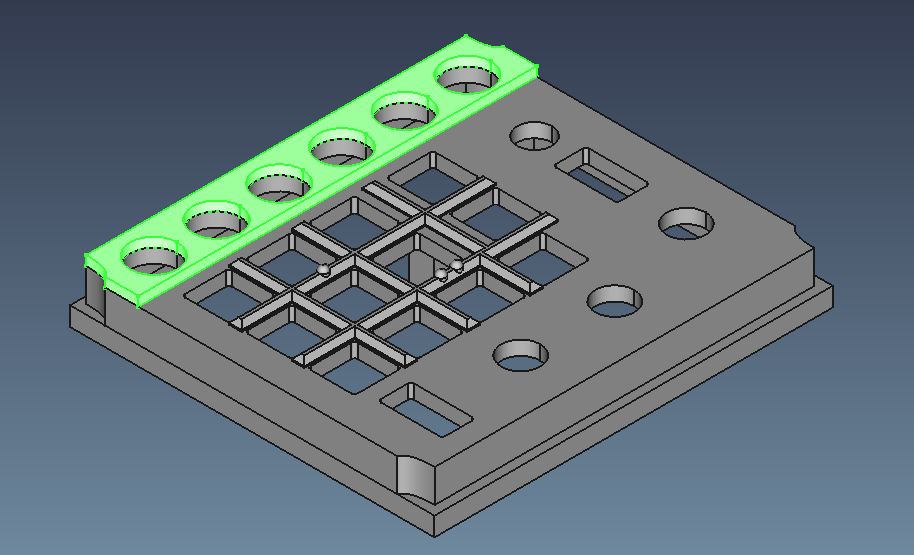
Orientation: Top down
Layer-height: Normal (~0.2 mm)
Supports: None
Part 4: Finger Guard
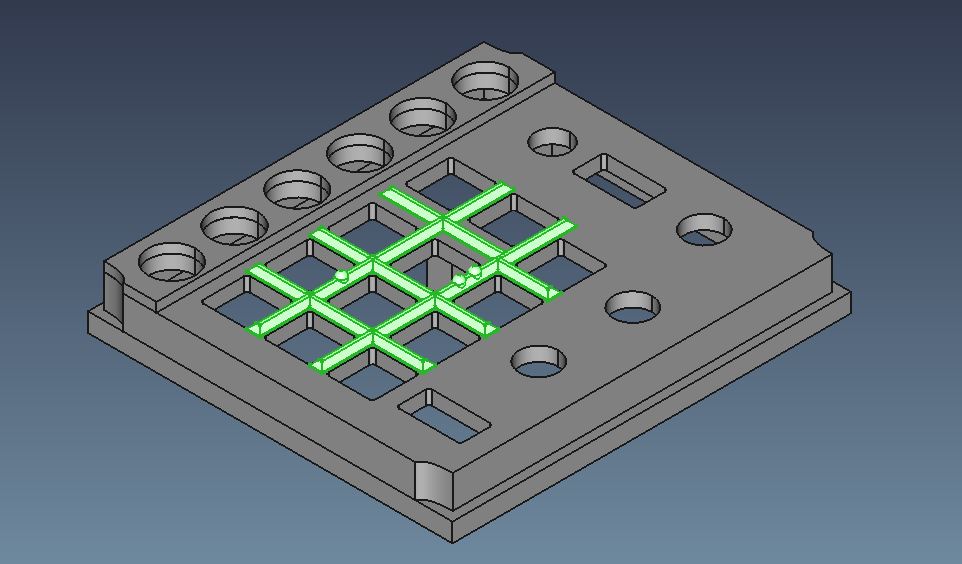
Orientation: Top down
Layer-height: Fine (0.08 - 0.12 mm)
Supports: None
Keys and Keycaps
Keycaps - Square
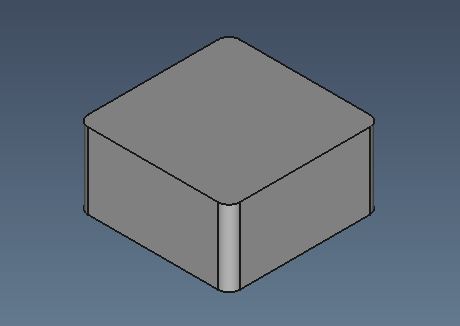
Orientation: Top down
Layer-height: Normal (~0.2 mm)
Supports: None
Keycaps - Round
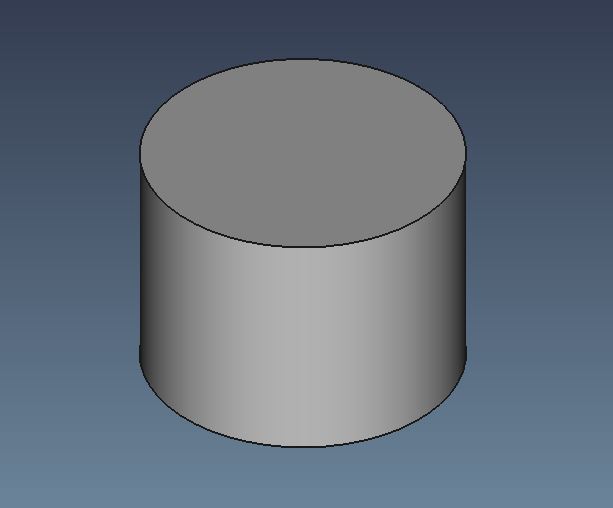
Orientation: Top down
Layer-height: Normal (~0.2 mm)
Supports: None
Rocker Key
The rocker switch consists of 2 3D printed parts and 2 pushbuttons. Cut two legs of the pushbuttons flush and place them in the main body. Place the rocker on top and secure it with a 1.75 mm piece of filament (or something similar)
Body
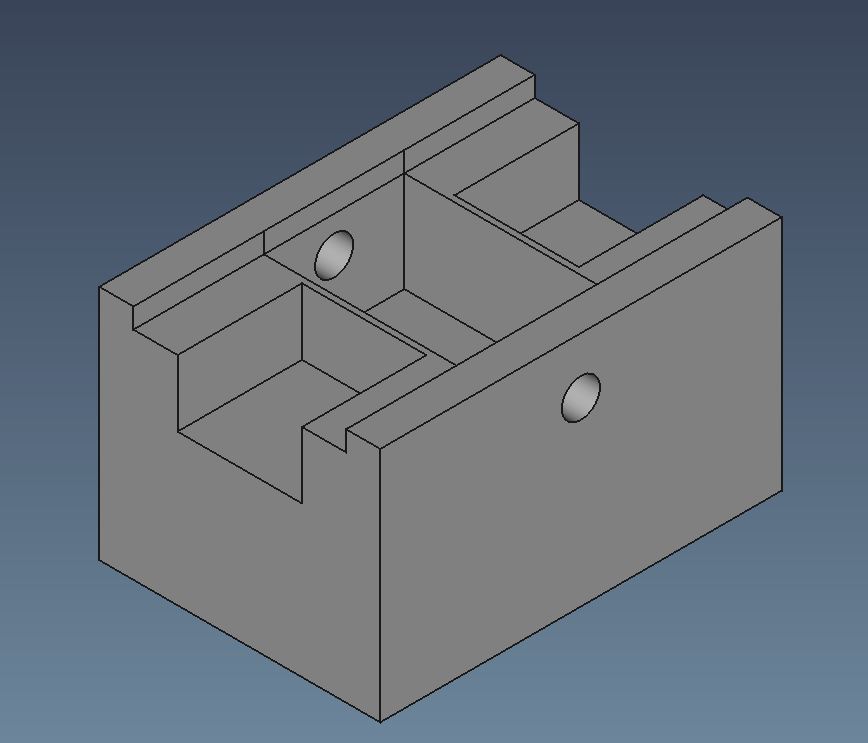
Orientation: Normal
Layer-height: Normal (~0.2 mm)
Supports: None
Rocker
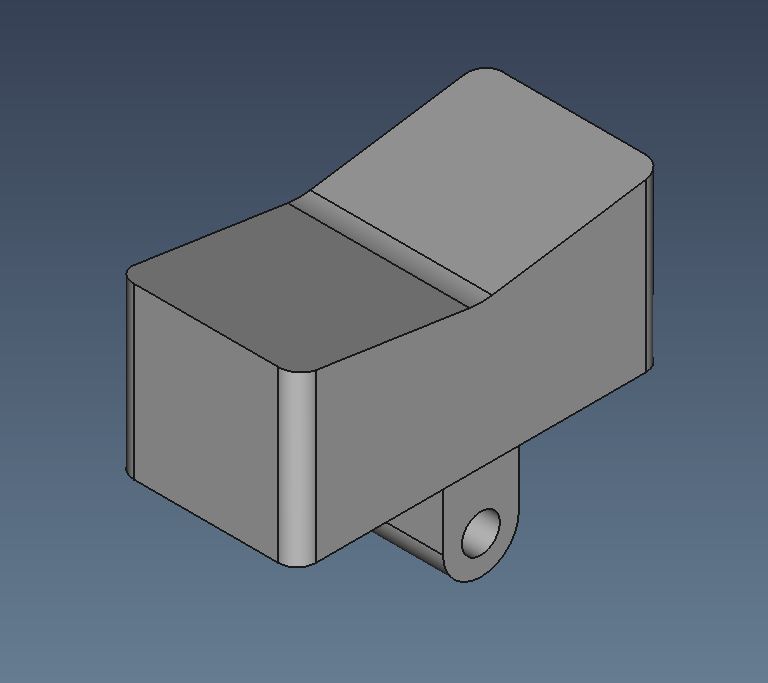
Orientation: Normal
Layer-height: Normal (~0.2 mm)
Supports: Yes
Dobber Switch
This part will require some tinkering to get the fitment right. The design is based on this design from Thingiverse. Just try printing the stem at 90%, 95% and 100%. Test the fit and finetune the scale from there.
The dobber switch consists of 3 3D printed parts and 4 pushbuttons. Cut 2 legs of the pushbuttons flush and place them in the body. Insert the stem in the center. Most likely it will not fit correctly and not all buttons can be pushed. In this case either:
- Sand the tops of the buttons a bit
- Sand the stem a bit
- Scale the stem in the X and Y direction in your slicer and play around until it fits. (Mine worked well at 97% XY scale and 100% Z scale)
Once the stem fits, insert the cover.
Body
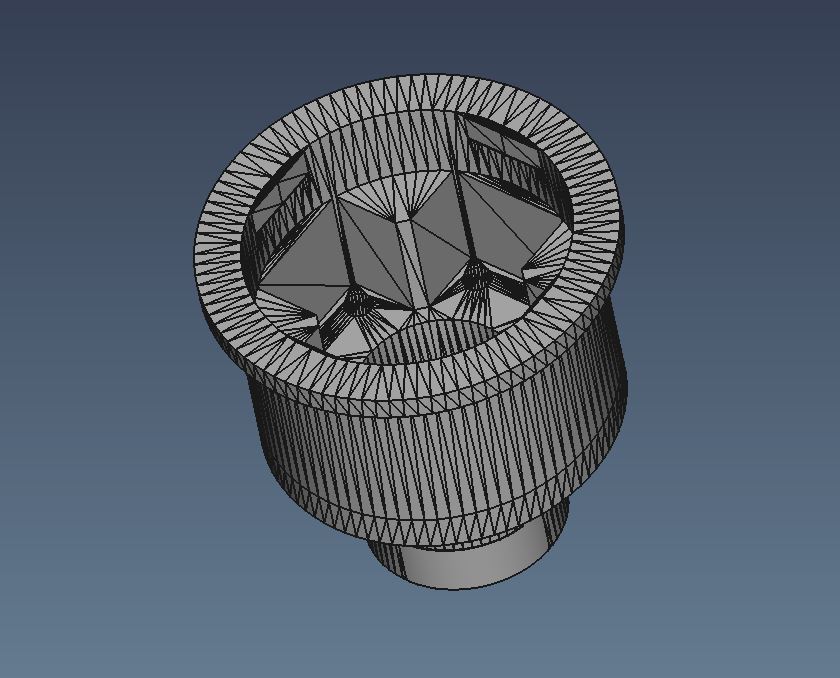
Orientation: Normal
Layer-height: Normal (~0.2 mm)
Supports: Yes
Stem
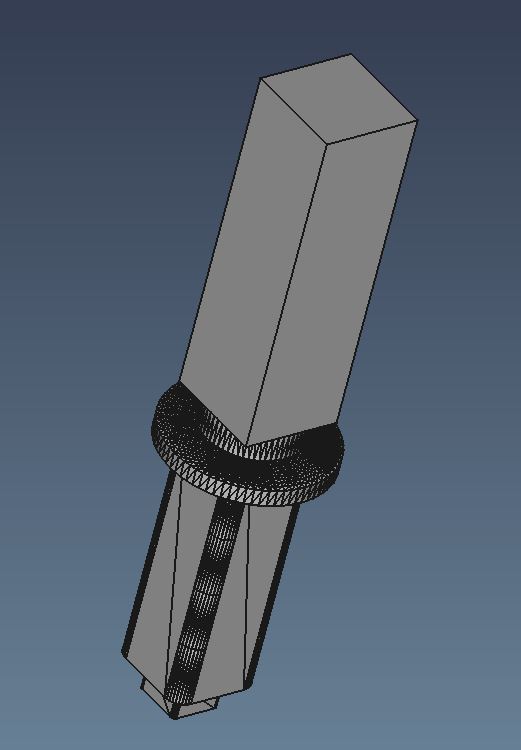
Orientation: Handle up
Layer-height: Normal (~0.2 mm)
Supports: Yes
Cover
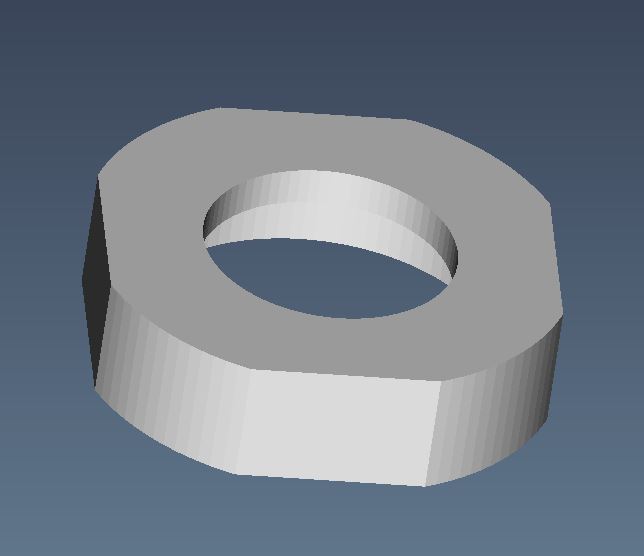
Orientation: Top down
Layer-height: Normal (~0.2 mm)
Supports: None